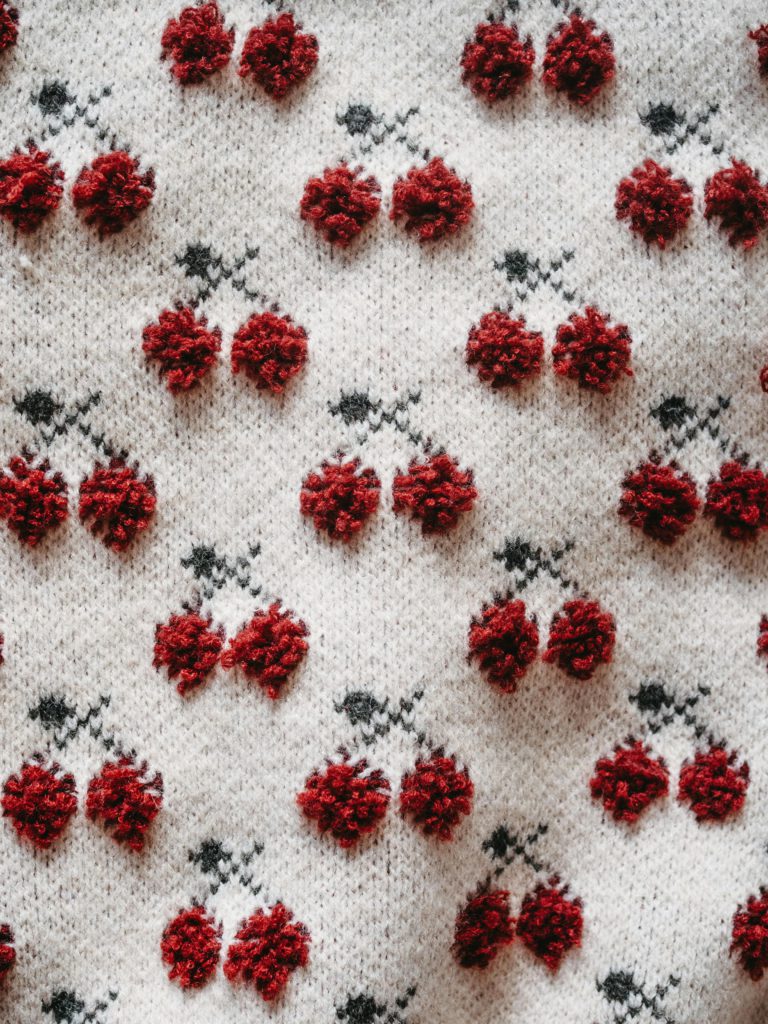
There’s something disarmingly gentle about knitting. The world rushes, and you sit down with two needles and a skein of yarn — a deliberate act of slowness. Whether you’re drawn by the cozy aesthetic or a need to keep your hands busy, knitting invites you to build something tangible out of stillness.
Here’s how to begin.
1. Gather Your Tools
You don’t need much — that’s the beauty of it. Start simple:
- Yarn: Choose a medium-weight yarn (often labeled worsted weight or category 4). Avoid anything fuzzy or super thin at first; smooth yarn helps you see your stitches clearly.
- Needles: Size 8 (5mm) knitting needles are a classic beginner’s choice. Bamboo or wooden needles have a bit of grip, which helps prevent slipping.
- Scissors & Tapestry Needle: For trimming and weaving in loose ends later.
You can find all of this at a craft store or online for under twenty dollars — the price of a slow afternoon and a mug of tea.
2. Learn to Cast On
Casting on is how you get stitches — the foundation of your fabric — onto the needle. There are many ways to do it, but the long-tail cast-on is a classic.
Here’s the simple rhythm:
- Measure a length of yarn about three times the width of your project.
- Make a slipknot and place it on one needle.
- With your thumb and index finger holding the yarn, scoop up a loop from the “tail” strand and pull it through the loop on your thumb.
- Tighten gently. That’s your first stitch.
It might feel awkward. That’s normal. You’re teaching your hands a new language.
3. Knit Your First Row
Once you’ve cast on, it’s time to knit your first row — this is where the fabric begins to form.
- Hold the needle with the stitches in your left hand.
- Insert the right needle into the first stitch, from front to back.
- Wrap the working yarn (the one attached to the ball) around the right needle.
- Pull that loop through the stitch and slide the old stitch off the left needle.
You’ve just made a knit stitch — the heartbeat of knitting. Repeat this motion across the row, one loop at a time.
4. Keep Going — Slowly
Your first rows might look messy. Uneven tension, loose stitches, mysterious holes — every knitter has been there. Keep going. Each row teaches your fingers something new.
As you continue, you’ll start to feel a rhythm: knit, slide, loop, pull. It’s almost meditative — your breath syncing with the gentle click of needles. You’ll look up and realize you’ve made something.
Try the garter stitch (knitting every row) for your first project. It’s simple, textured, and forgiving. A scarf, a coaster, even a small square just for practice — anything that lets you enjoy the repetition without pressure.
5. Binding Off (Finishing)
When your piece feels long enough, it’s time to bind off — sealing your stitches so they won’t unravel.
- Knit two stitches.
- Use your left needle to lift the first stitch over the second and off the needle.
- Knit one more stitch and repeat the lifting motion until one stitch remains.
- Cut your yarn, leaving a few inches of tail, and pull it through the final loop.
You’ve done it — your first piece of knitted fabric. Imperfect, maybe, but entirely yours.
6. Weave, Block, and Breathe
Use your tapestry needle to weave in the loose ends on the back. If your piece curls or looks uneven, you can “block” it — lightly wet it, lay it flat, and let it dry into shape.
Then, hold your creation. Feel the slight weight of it, the warmth. That’s time made visible.
Knitting isn’t a race or a performance; it’s a practice. With every stitch, you’re reclaiming a moment that might have otherwise slipped away.
Closing Reflection
When you knit, you slow the world by hand. You loop the minutes, soften the hours, and discover that creativity doesn’t always have to shout — sometimes it just hums quietly between your fingers.
Be sure and check out our socials! Reddit, Facebook, Instagram. Cavalletto Magazine Homepage

Editor and Chief, Cavalletto Magazine
Owner And Operator of Burton Media Group
Christopher Burton is a acclaimed Photographer and has appeared in many shows, galleries, and publications over the years.

